David makes a few boomerangs
(a side-gallery to the Two Hundred Fifty Pixels Wide exhibition)
© 2003-2024 David Whittemore


Featured Boomerang

img 
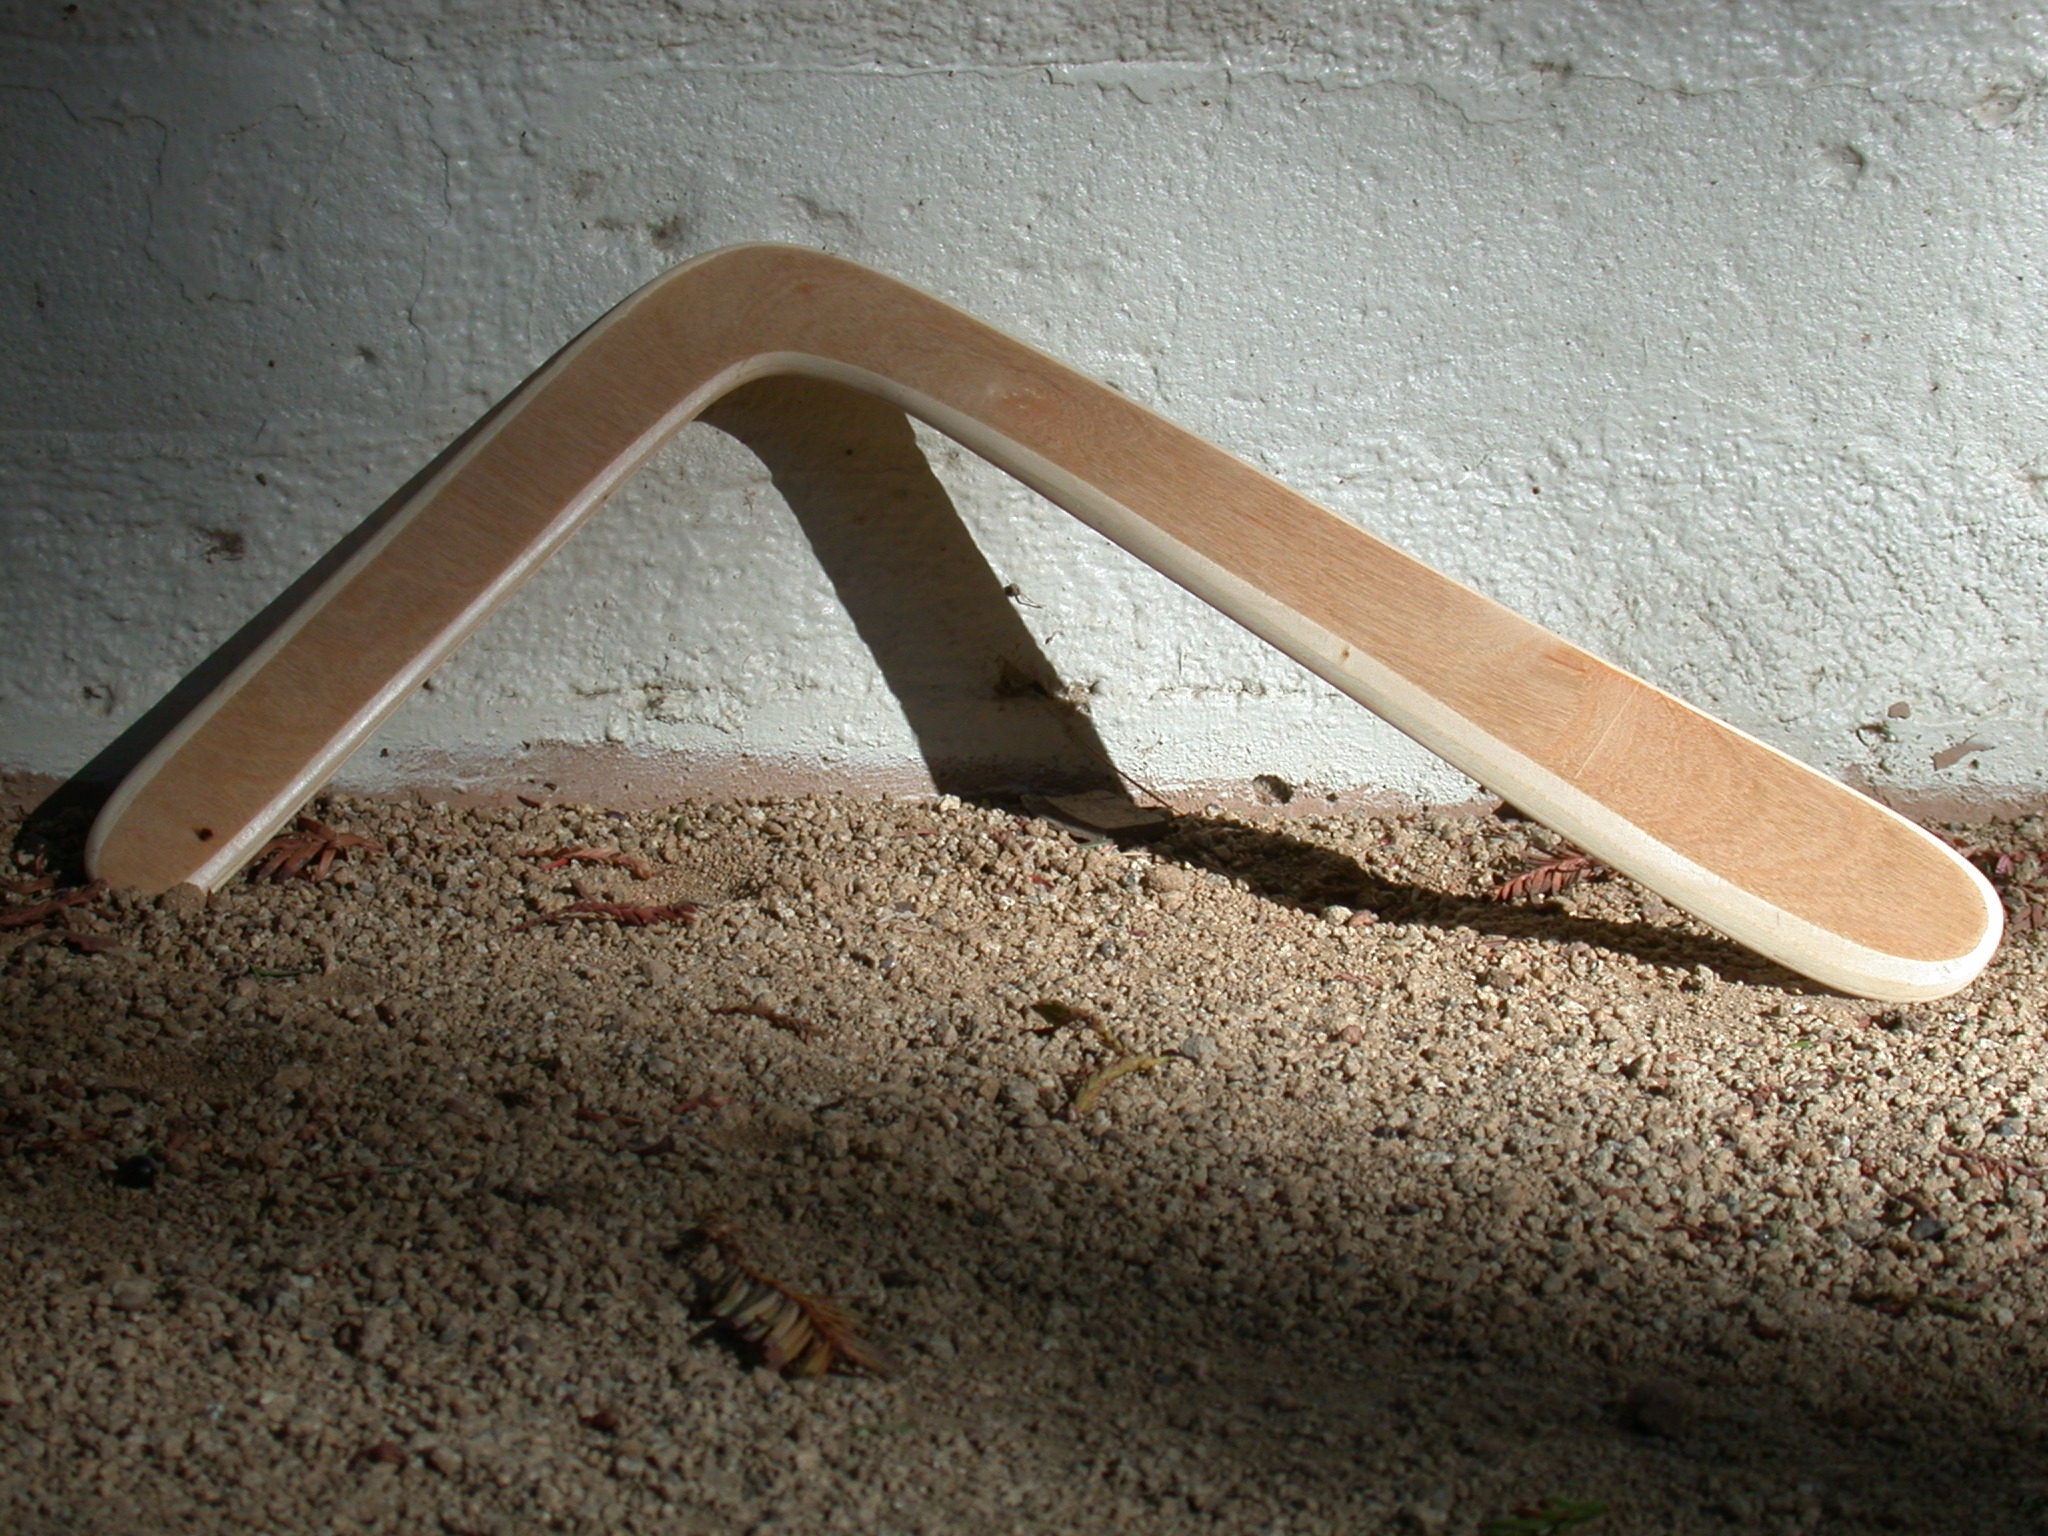
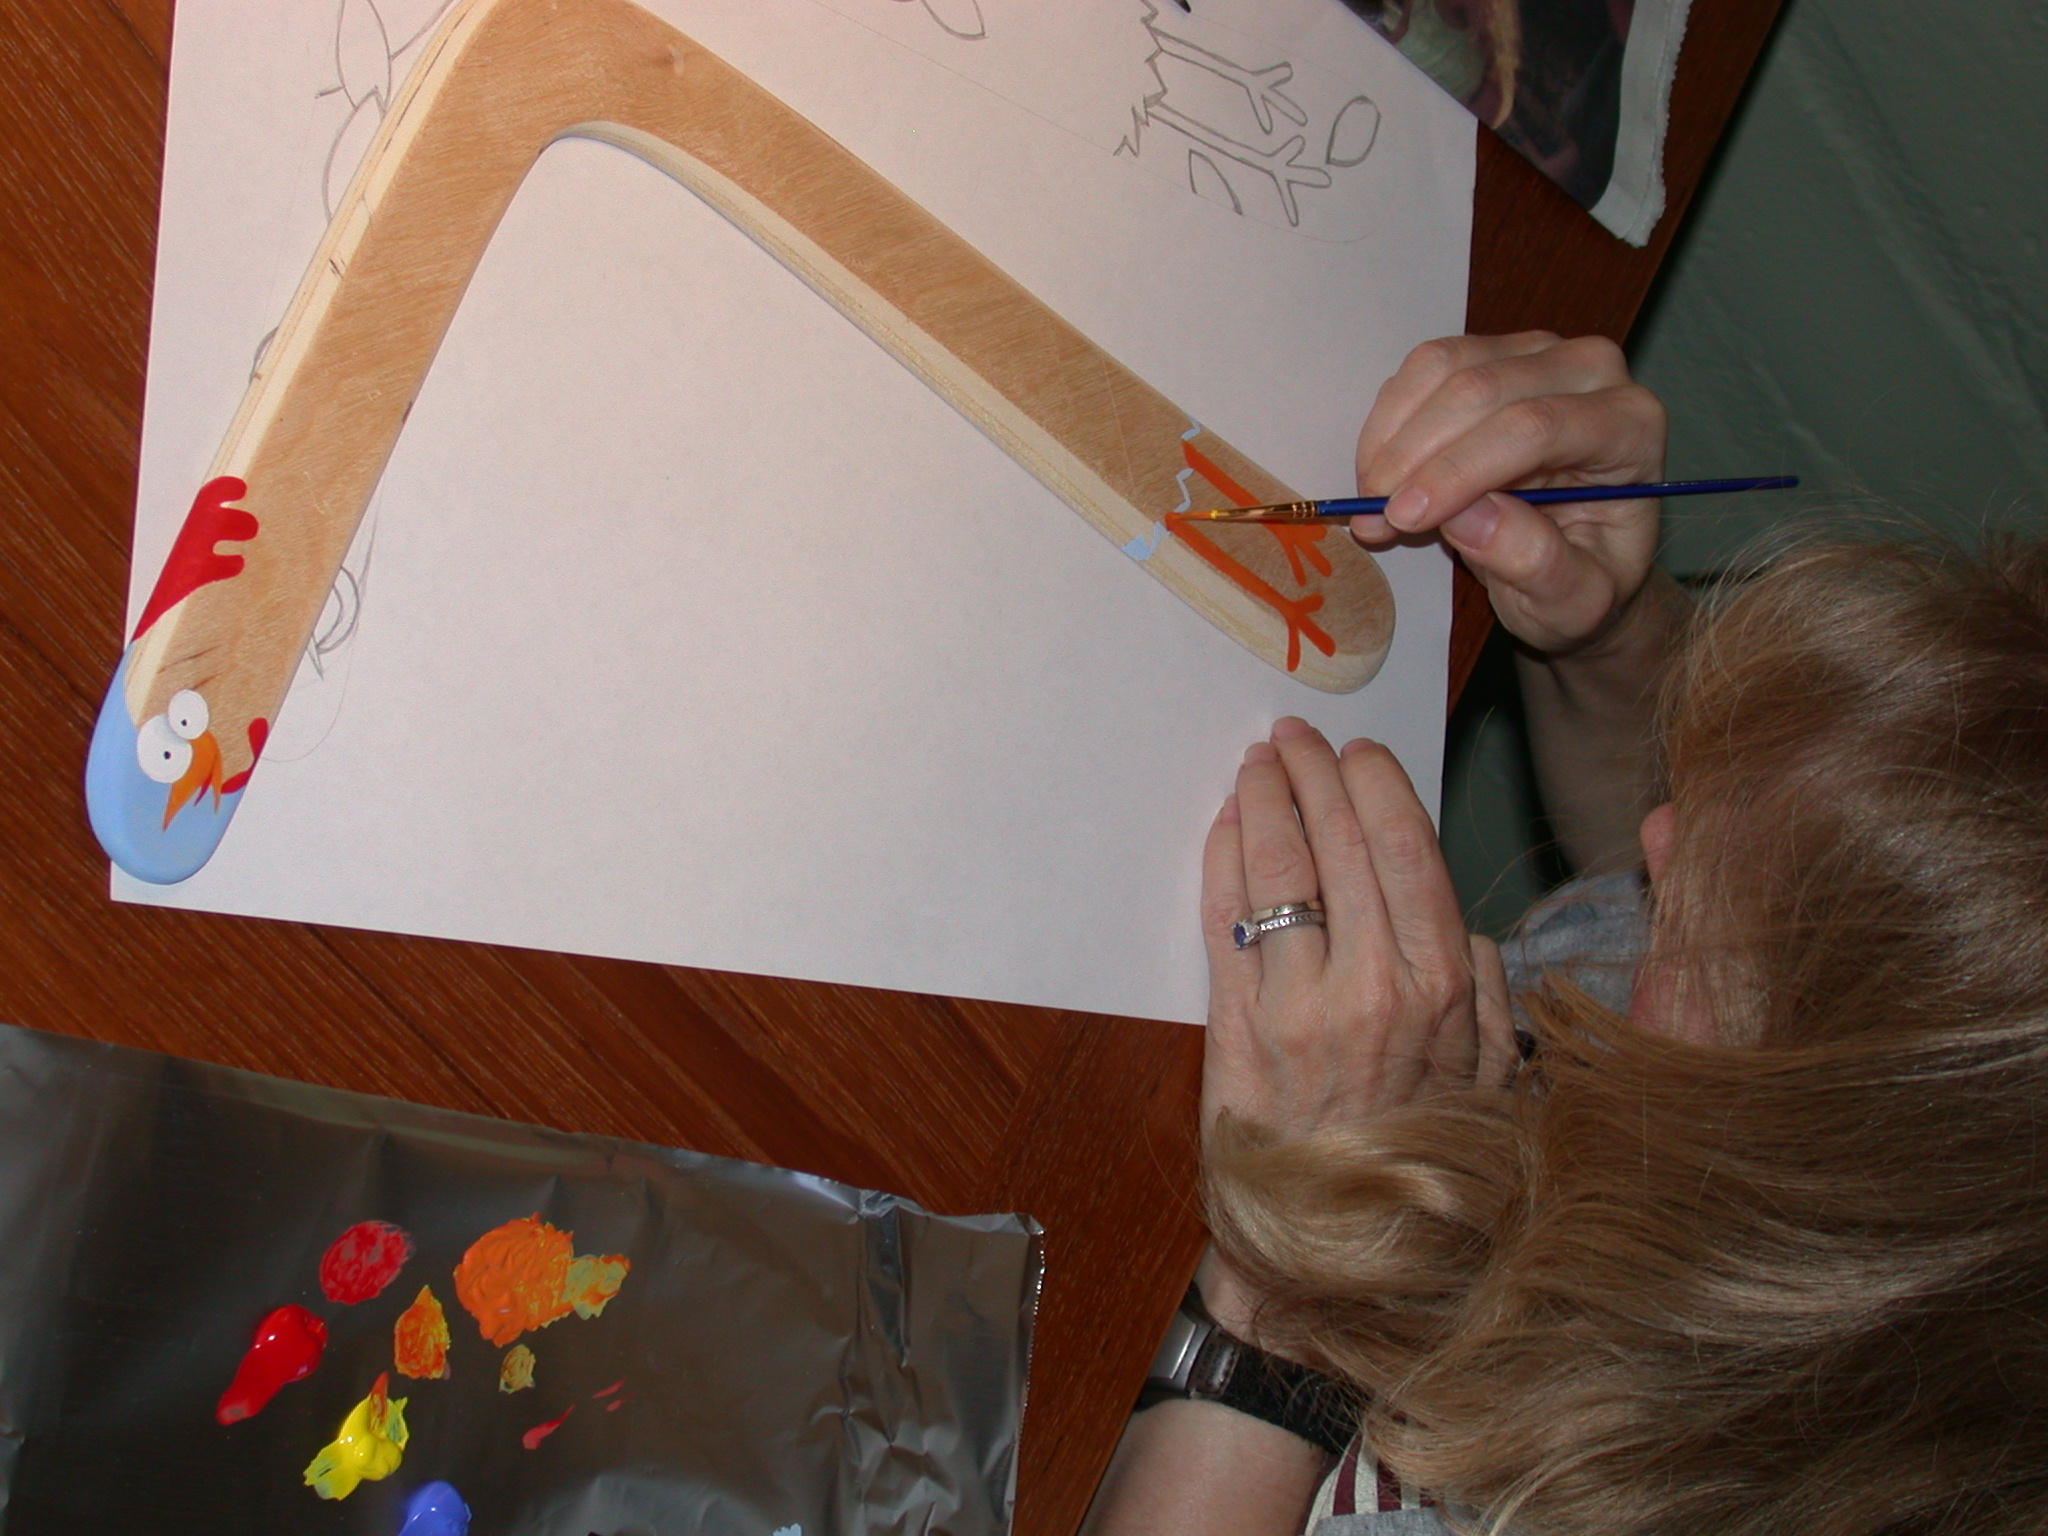
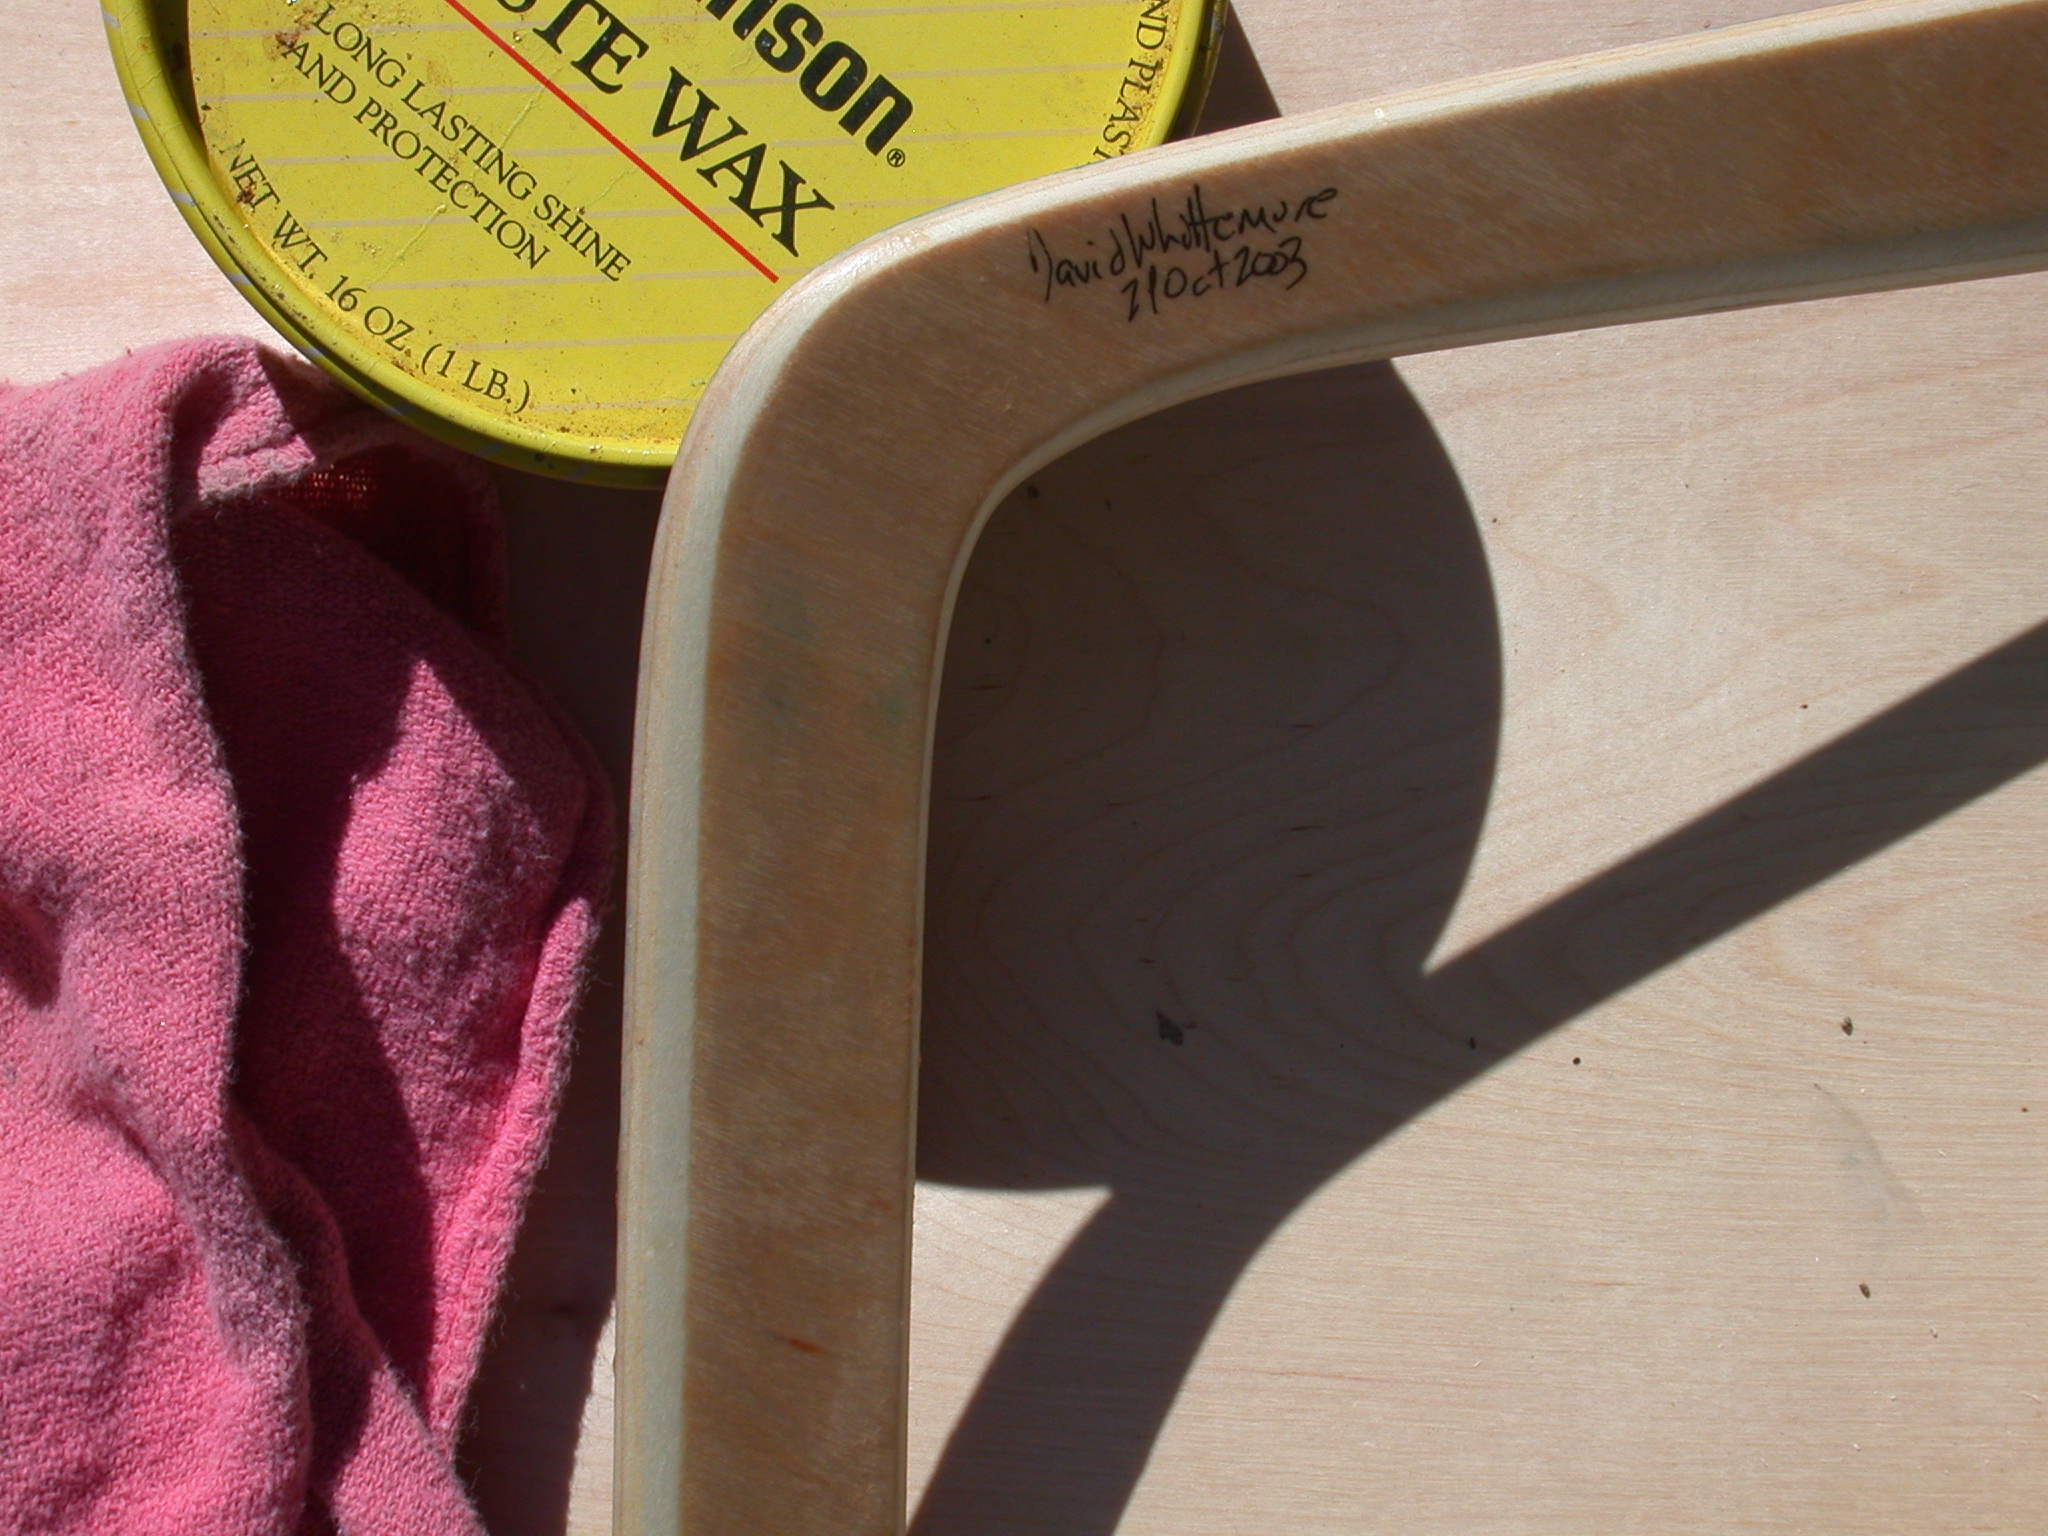
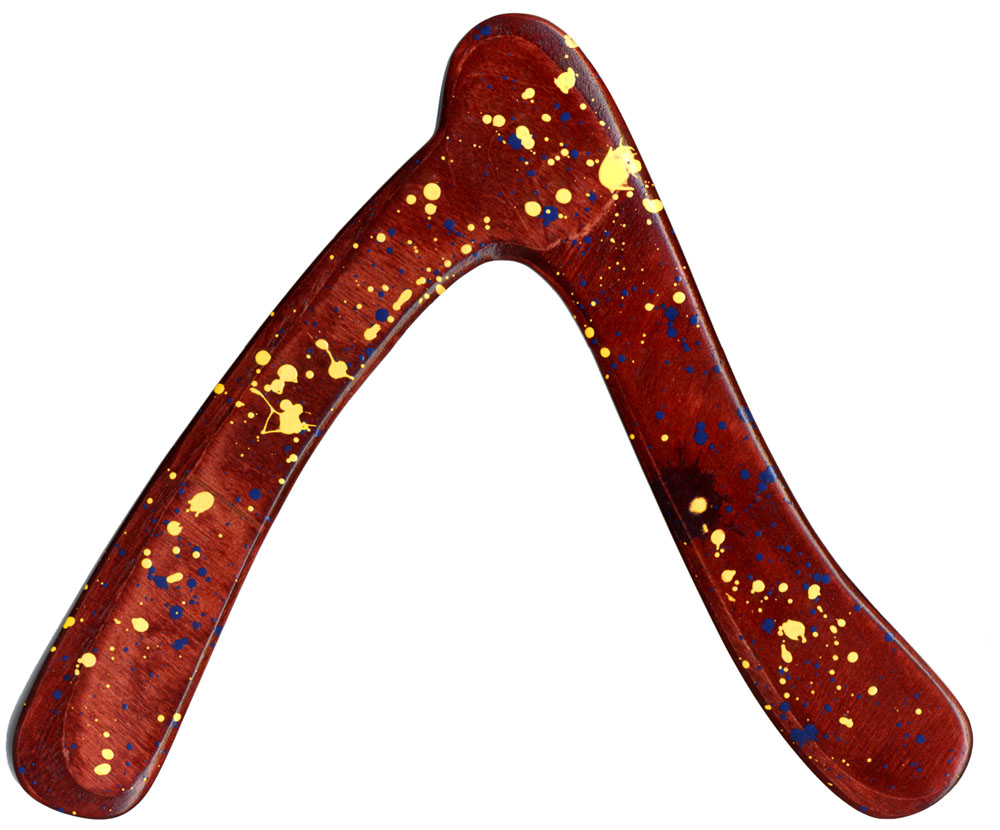
This "Aussie Round" is an absolute HONEY of a boomerang.

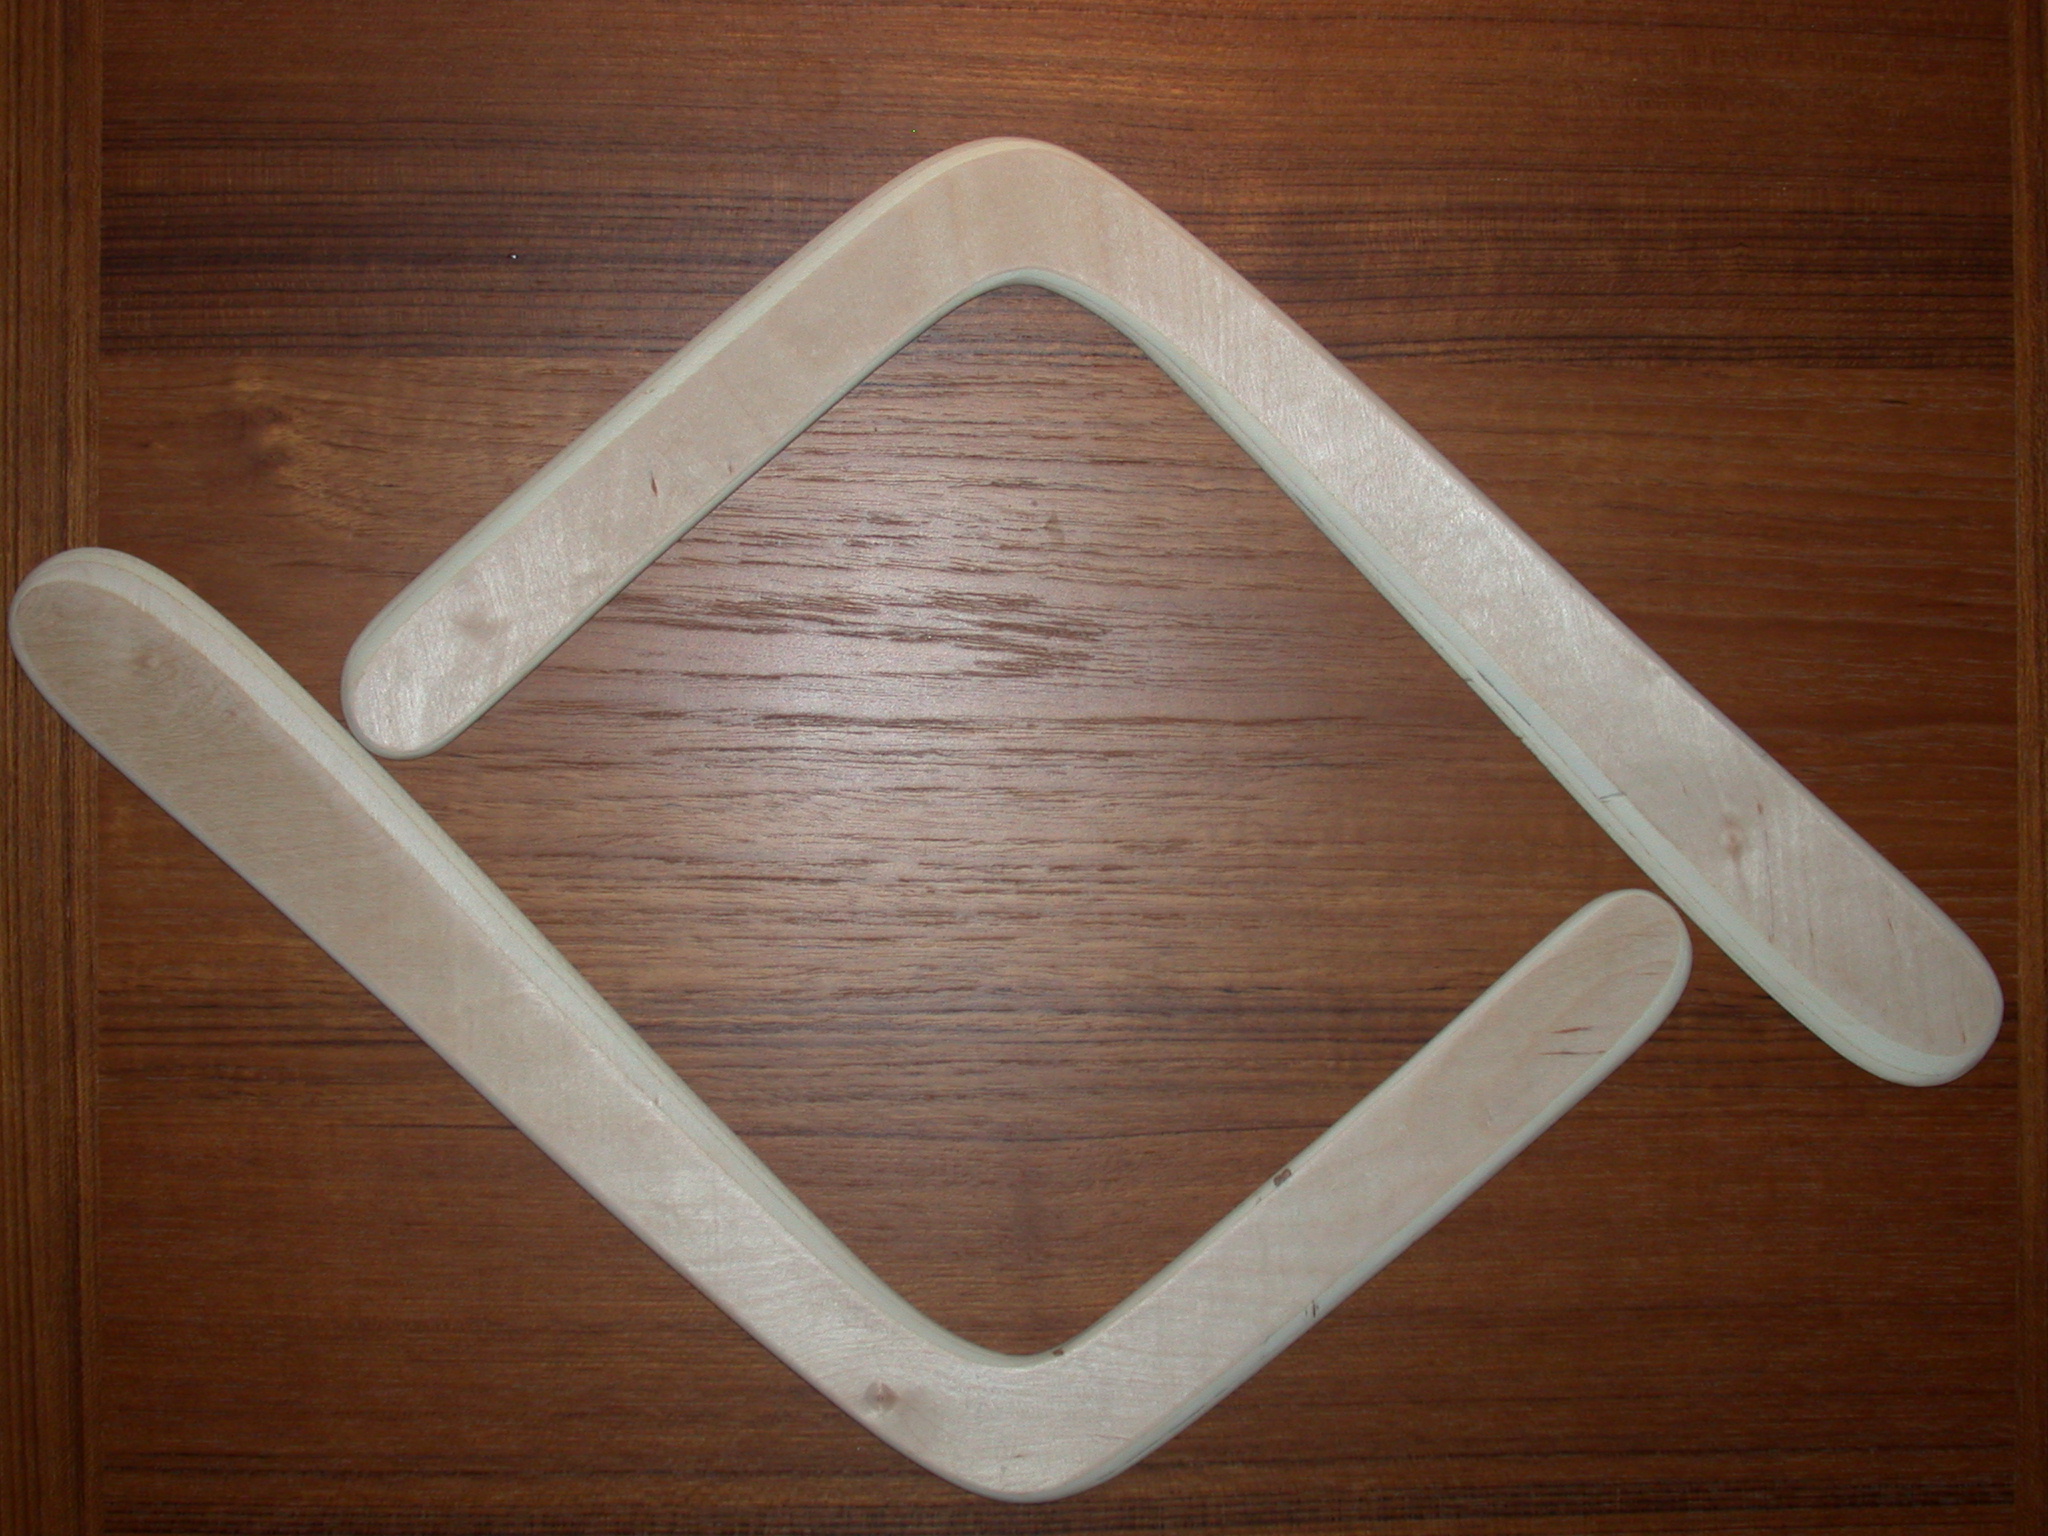
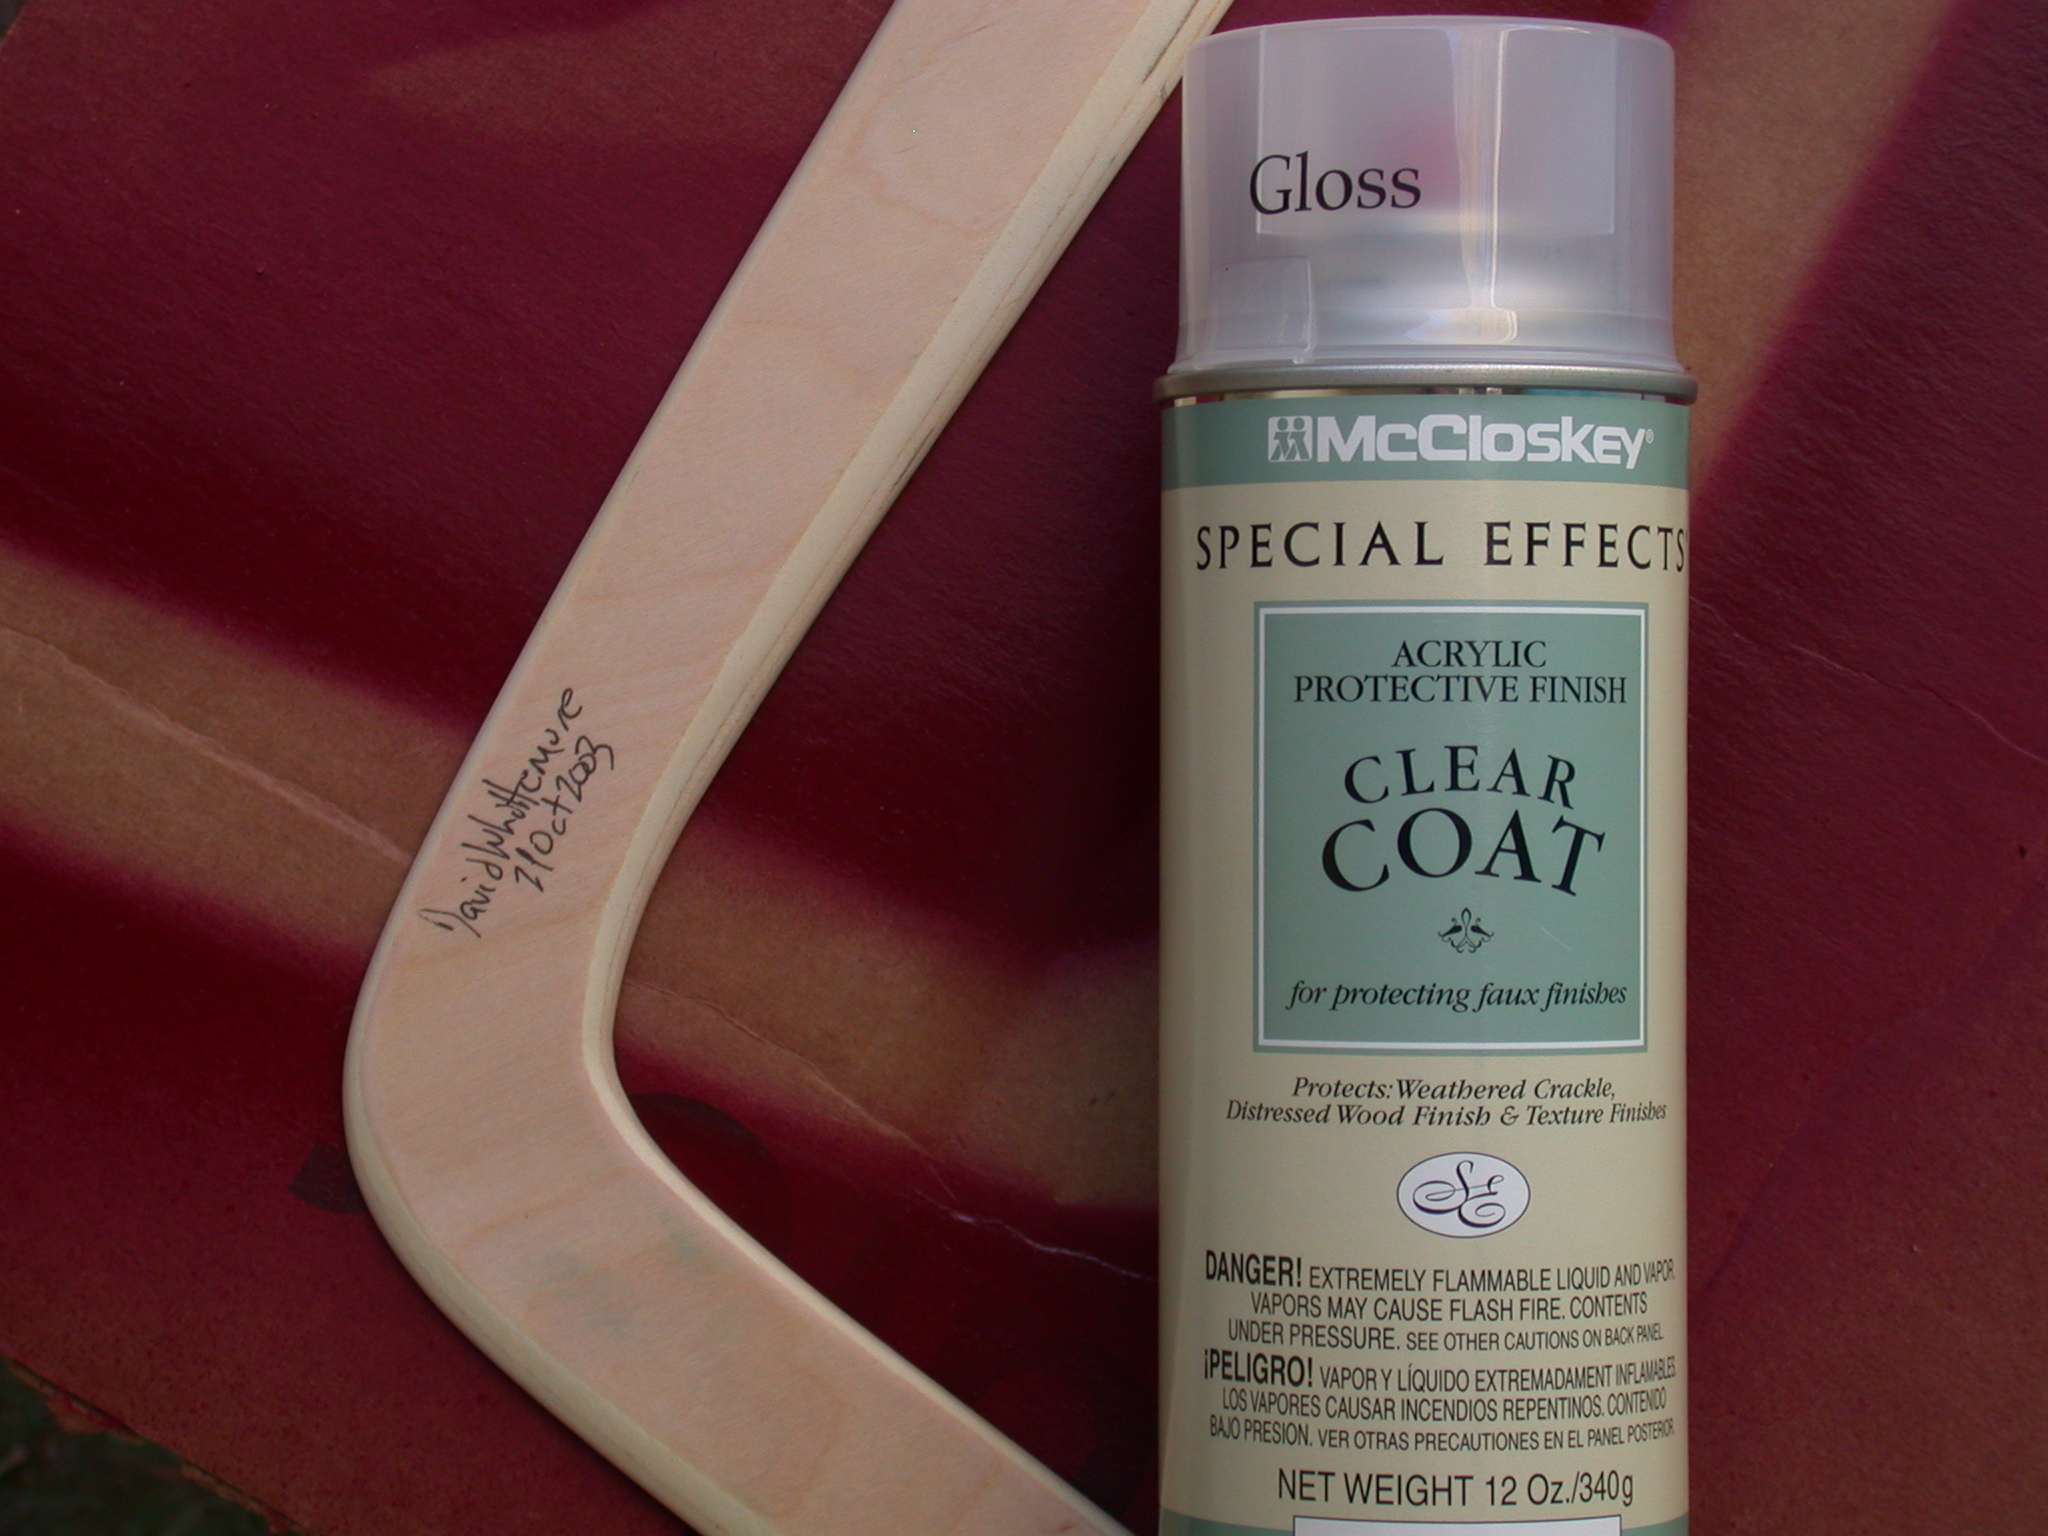
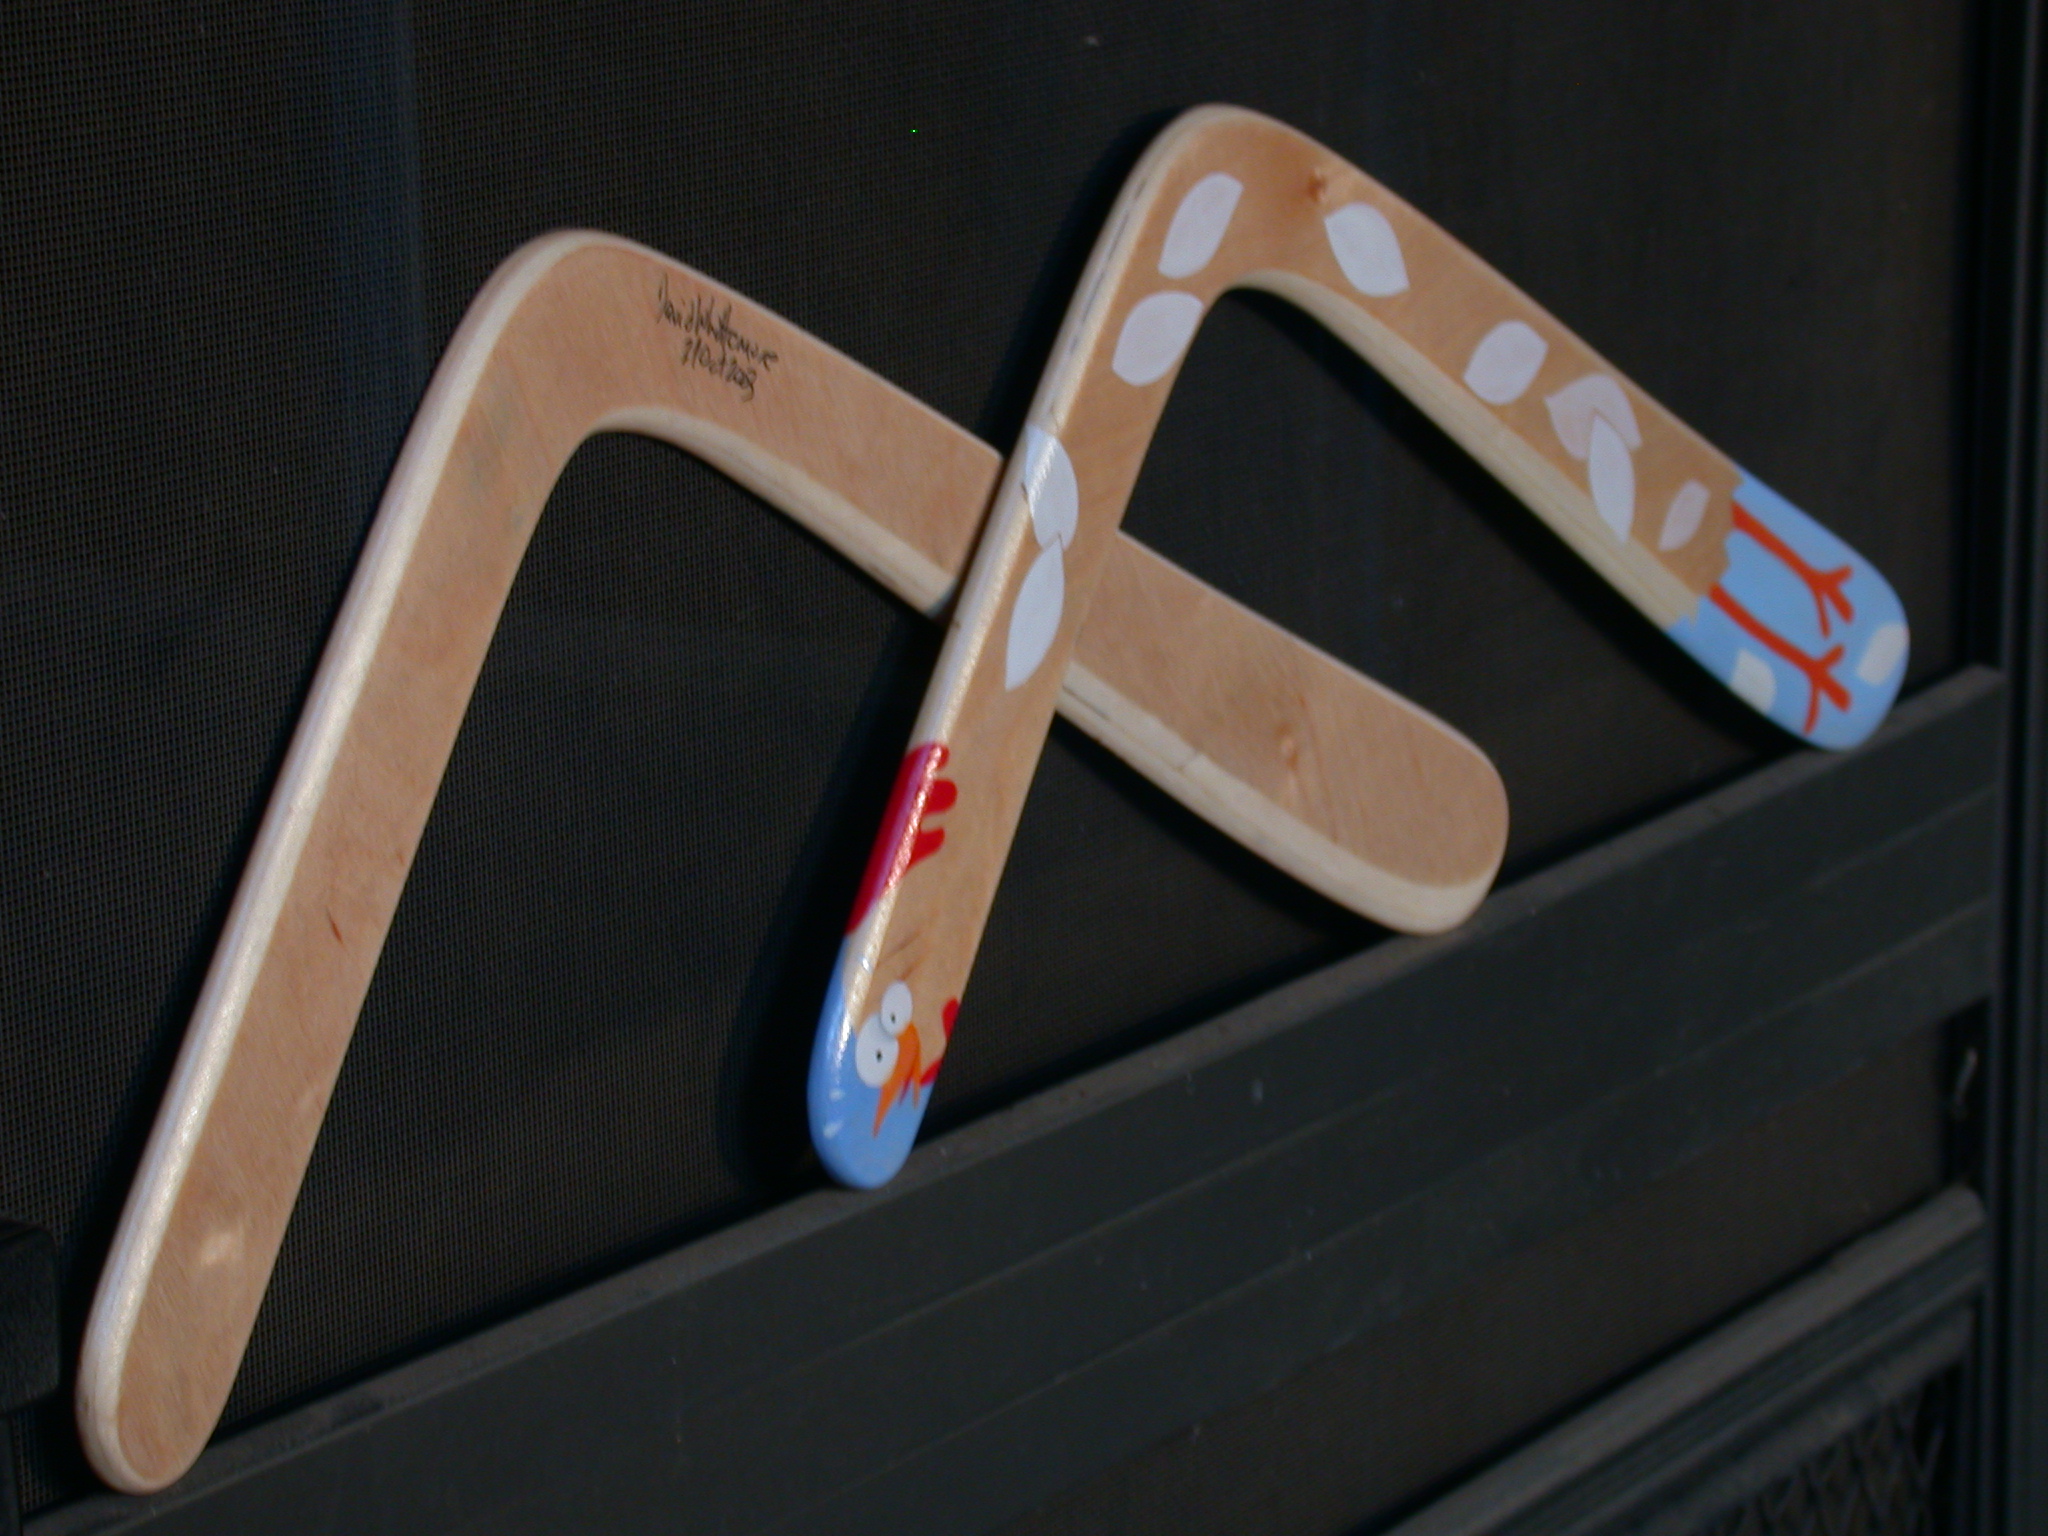
It does a wonderfully predictable 70' circle and then hovers directly down from about 40' above you. Very, very nice.

The plans called for it to be weighted, and I have taped coins on occasion. The extra weight increases the flight circle a bit and makes it better handling in the wind, but for day-to-day flying, I use it unweighted..

5 Mar 2004 - Aussie Round

Videos (.AVI format)

See me throwing the homemade "Aussie Round" (2005Nov26)

See me throwing a Colorado Boomerangs "Condor Comp." (2005Nov26)
(this boomerang sadly, is now lost in an oak tree in the park next to my home.)


The First Boomerang

img This was the first boomerang I made. Constructed of 5mm 5-ply birch plywood, this was a good flyer despite the fact that I didn't know what I was doing, and that I used material too heavy to make this a real "MTA" (maximum time aloft) boomerang. Live and learn.
11 Oct 2003 - Ted Bailey MTA

img And this is my first boomerang 8 days later. As you can see, this boomerang has a crack at the elbow from hitting the ground too hard on launch. Whoops.
19 Oct 2003 - Broken Ted Bailey MTA

The Construction Of "Ted Bailey MTA" Boomerangs

img The first step is to transfer the pattern from a cardboard blank onto the sheet of plywood. I downloaded all the patterns for boomerangs used on this page from the French site, Boomerang Passion. Here, I've laid out two right-hand boomerangs. (yes, lefties have to have their own boomerangs, since these things have airfoils).
19 Oct 2003 - Boomerang Layout on 5mm Plywood

img Using an electric saber saw, I cut the pattern as closely as possible so as to minimize the amount of sanding/filing. Purists apparently use manual tools for boomerang construction. Using power tools, one can have a finish-ready boomerang in under two hours..
19 Oct 2003 - Cutting Boomerangs

img The next step is to rough out the airfoils. I use 60 grit sandpaper on an electric sander..
19 Oct 2003 - Ready For Airfoil

img Using my first boomerang as a template, I draw out what will be cut away..
19 Oct 2003 - Airfoil Detail

img And this is what it looks like after roughing with the power sander..
19 Oct 2003 - Airfoil Detail

img Hand-sanding with 150 and then 220 grit sandpaper follows the rough sanding. Here are the sanded, unfinished boomerangs..
19 Oct 2003 - Finished Sanding

img I use 50/50 modelling dope as a first-coat sealer. This dries quickly and is sanded down using 220 grit.
19 Oct 2003 - First Finish

img Some 000 steel wool work and the surface is finish-ready.
19 Oct 2003 - Finish Prep

img The artist is using acrylics to transfer the pattern she first drew on paper.
19 Oct 2003 - Chicken Stick Artwork

img Here's a close-up of the head of the bewildered chicken gracing the "Chicken Stick".
19 Oct 2003 - Chicken Stick Artwork Detail

img I chose to simply spray some Rustoleum onto the bottom of the other boomerang. If I had it to do over, I'd've chosen a less gross finish. Rustoleum doesn't dry very hard over dope. This boomerang has been my favorite flyer of late. In light wind, I can get 20 seconds out of it..
19 Oct 2003 - Rustoleum Boomerang Finish

img This clear acylic spray finish seems to do a decent job; dries hard after 24 hours or so.
19 Oct 2003 - Clearcoat

img The final touch is to do a final light 000 steel wool sanding and then to apply paste wax.
19 Oct 2003 - Waxing

img Two "Ted Bailey MTA" Boomerangs.
19 Oct 2003 - The Outcome

And then he couldn't stop himself

img Now that I've caught the bug, I'm moving on to even more styles. Here's a close-up of my 6th boomerang, a "Lazy Seven". My attention to detail has improved and the latest booms are veeeerrrryy sensual to touch.
10 Nov 2003 - Detail of "Lazy Seven" Boomerang

img Here's a detail shot of my 7th boomerang, a "Simple Bois" - pre-finish. This design, unlike most classic boomerangs, does not have a flat bottom. Instead there is an undercut at both the leading and trailing edges - apparently in an attempt to reduce lift in-flight. Since it takes the mastering of about 5 degrees of freedom to get a good flight from a boomerang (elevation, layover angle, spin, strength, wind), adding more variables (undercuts) to the mix seems dubious.
10 Nov 2003 - Detail of "Simple Bois" Boomerang

img And here's the full collection to-date. Fun, fun, fun. You're free to go, now. Thanks for looking.
10 Nov 2003 - The Collection to-date

Last updated: Thu Dec 1 22:49:48 PST 2005

Visitors' recent comments for this page [Read all 7 comments] [Add your own]


powered by HTDB
45,080 impressions
7 comments
try yr luck!